
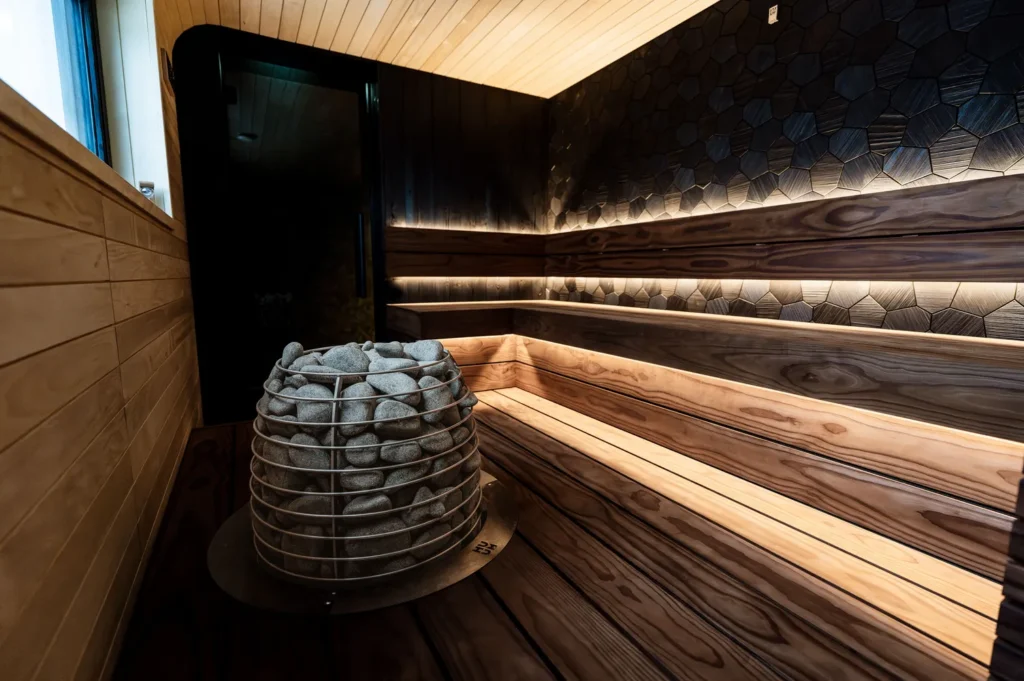
Building your own sauna at home might sound like a huge project. And if you’re anything like most homeowners, you’ve probably got plenty of questions too, such as:
- Can I really build a sauna myself?
- How much does it cost to build a sauna?
- And where do I even begin?
The good thing is building a sauna isn’t as complicated as you might think.
Of course, this isn’t just about putting together a wooden room and adding a heater. You need the right planning, materials, some patience, and most importantly detailed steps.
For instance, you need to choose the location, frame the structure, ventilate it, and add a sauna heater.
But once you’ve got it right, you’ve built your own wellness retreat and saved thousands of dollars in the process.
In this blog, I’ve explained how to build a sauna in detail including how to prepare before you begin, step-by-step building process, and some tips to make the project easier.
So, let’s get started.
Key takeaways
- Building a home sauna is a realistic DIY project if you plan carefully and use the right materials.
- Choosing the right location, insulation, ventilation, and heater are some of the most important parts of the build.
- Most DIY home saunas cost anywhere from $3,000 to $8,000, depending on their size, materials, and heater.
- A typical DIY sauna project takes anywhere from a weekend to several weeks, depending on your experience and the complexity of the build.
- If you’re unsure about electrical work or local building requirements, it’s always best to work with qualified professionals.
Can you build a sauna at home?
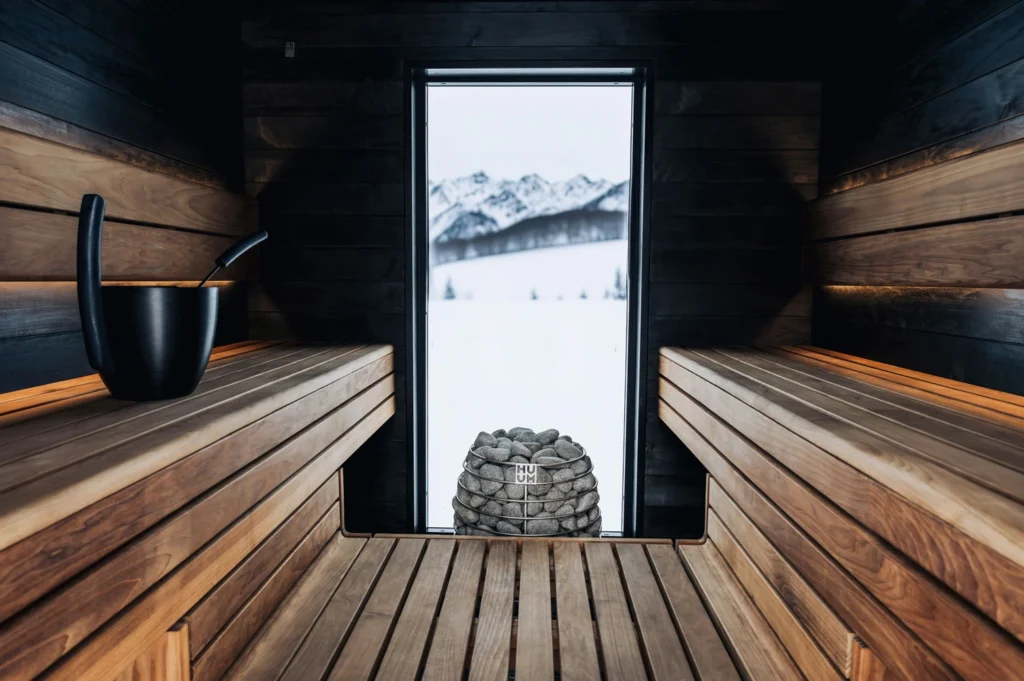
Yes, you can.
Whether it’s a small indoor sauna in the basement, a converted spare room, or a dedicated outdoor sauna in the backyard, you can absolutely build it yourself.
However, it’s important to have realistic expectations before getting started.
You see, building a sauna requires much more than basic carpentry. You’ll need to carefully plan the layout, choose heat-resistant materials, install proper insulation and ventilation, and select a heater that’s appropriately sized for your sauna.
So, if you’re comfortable with DIY home improvement projects, building a sauna can be a rewarding experience. In fact, many of the tasks, like framing, insulating, installing wood paneling, and building benches, are well within the abilities of an experienced DIYer.
But some parts of the project, especially electrical work, might require the help of a licensed electrician to meet safety requirements and local building codes.
Simply put, if you plan properly and take your time, building a DIY home sauna is completely achievable.
How to prepare for building a home sauna?
Before you start buying lumber or installing a heater, I suggest you spend some time planning your sauna.
This is important because a little preparation now can save you a lot of time, money, and frustration later.
Also, it helps ensure your finished sauna heats efficiently, lasts for years, and gives you the experience you’re looking for.
Here are a few things I recommend planning before you begin building your home sauna:
1. Decide where you want to build your sauna
The first thing you need to decide is where your sauna will go.
People mostly build saunas indoor in basements, garages, spare bathrooms, or unused rooms. However, an outdoor sauna in the backyard is also great for a traditional experience if you have space and privacy.
Both options work well, but they each have different requirements.
For instance, indoor saunas are easier to access and can make use of existing electrical connections. Outdoor saunas, on the other hand, require a solid foundation, weather protection, and electrical wiring.
Whichever location you choose, make sure there’s enough room for the sauna, safe access to the heater, proper ventilation, and a comfortable seating layout.
2. Choose the type of sauna you want
The next step is deciding what type of sauna you’d like to build.
If you want a dry sauna, a traditional electric or wood-burning sauna is the best choice. These saunas heat the air around you, creating the classic Finnish hot and dry sauna experience. You can also pour water on sauna stones to create steam whenever you want some humidity.
Also, if you like humidity, you can go for a steam shower sauna that uses a steam bath generator. This is the simplest to build and you can even repurpose your shower for one.
Infrared saunas are another option. Instead of heating the air, these saunas use infrared panels to warm your body directly. They’re easier to install but require a different setup than a traditional sauna.

3. Plan the size and budget
Your sauna doesn’t have to be huge to be enjoyable. In fact, most home saunas are designed to comfortably fit two to four people.
The size you choose will affect everything from the amount of lumber you’ll need to the heater size and overall project cost.
Also, I suggest you set a realistic budget before you begin. This should include things like lumber, insulation, interior paneling, benches, sauna heater, ventilation components, lighting, doors, fasteners, and finishing materials.
4. Gather the right materials and tools
Once your design is ready, it’s time to gather everything you’ll need.
For most DIY sauna projects, you’ll need framing lumber, insulation, a foil vapor barrier, interior wood paneling, bench materials, fasteners, a sauna door, ventilation components, and a sauna heater.
You’ll also need basic tools such as a tape measure, circular saw, drill, level, hammer, and safety equipment.
In short, here’s how to prepare before building your sauna:
| Step | What to Do |
| Choose the location | Decide whether an indoor or outdoor sauna best fits your available space and lifestyle. |
| Select the sauna type | Choose between a traditional dry sauna or an infrared sauna based on your needs. |
| Plan your size and budget | Decide how many people the sauna should accommodate and estimate your total project cost. |
| Gather materials and tools | Buy the necessary building materials, heater, ventilation components, and basic construction tools. |
Here’s how to build a sauna at home step-by-step
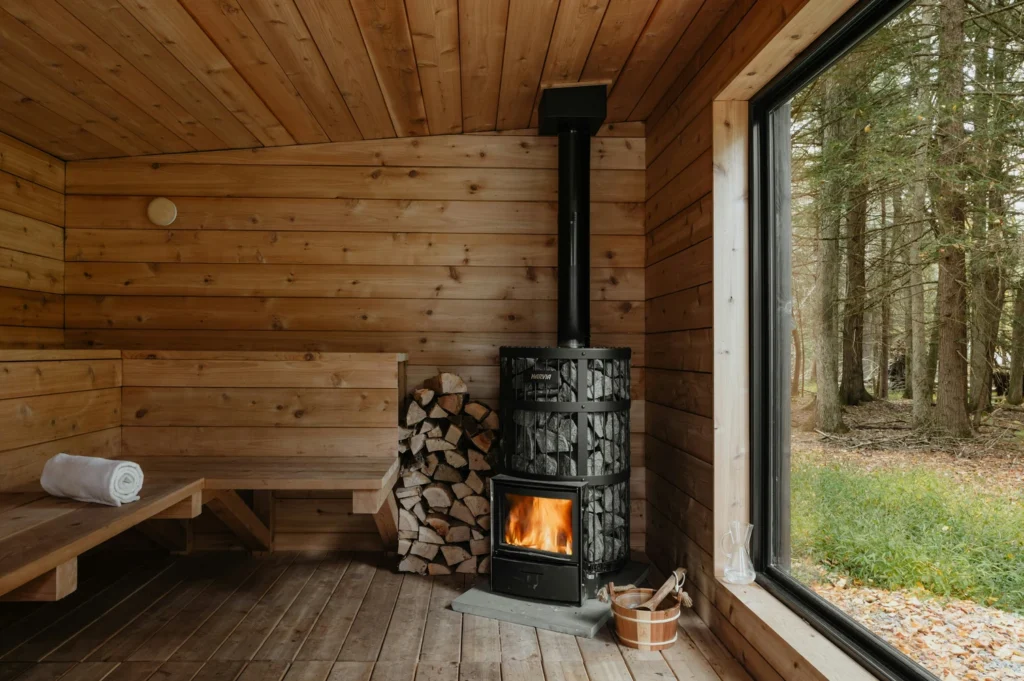
Now that you’ve planned everything carefully, the construction process is much more straightforward. So take your time, complete each of these steps properly, and avoid rushing through the project.
Here’s how to build a sauna at home, one step at a time:
Step 1: Prepare the location
Yes, you’ve already chosen a general location during the planning stage. But before you begin building, you’ll need to prepare the exact spot where your sauna will sit.
For instance, if you’re building an indoor sauna, you want to make sure the floor is level, dry, and strong enough to support the completed structure.
A concrete DIY floor for sauna works well here because it’s durable and moisture-resistant. But if you want a wooden floor, check that it’s structurally sound and capable of handling the weight.
For an outdoor sauna, you’ll first need a solid foundation. A concrete slab is a stable and long-lasting option here. But depending on the design, a deck or compacted gravel base can also work.
Step 2: Plan the size and layout
With the location ready, it’s time to finalize your sauna’s layout.
Start with a ceiling height of around 7 to 8 feet. This allows the room to heat efficiently while giving you plenty of headroom.
For the walls, 2×4 framing is suitable for most indoor saunas. But if you live someplace with a colder climate, a 2×6 framing is a better option as it provides additional insulation.
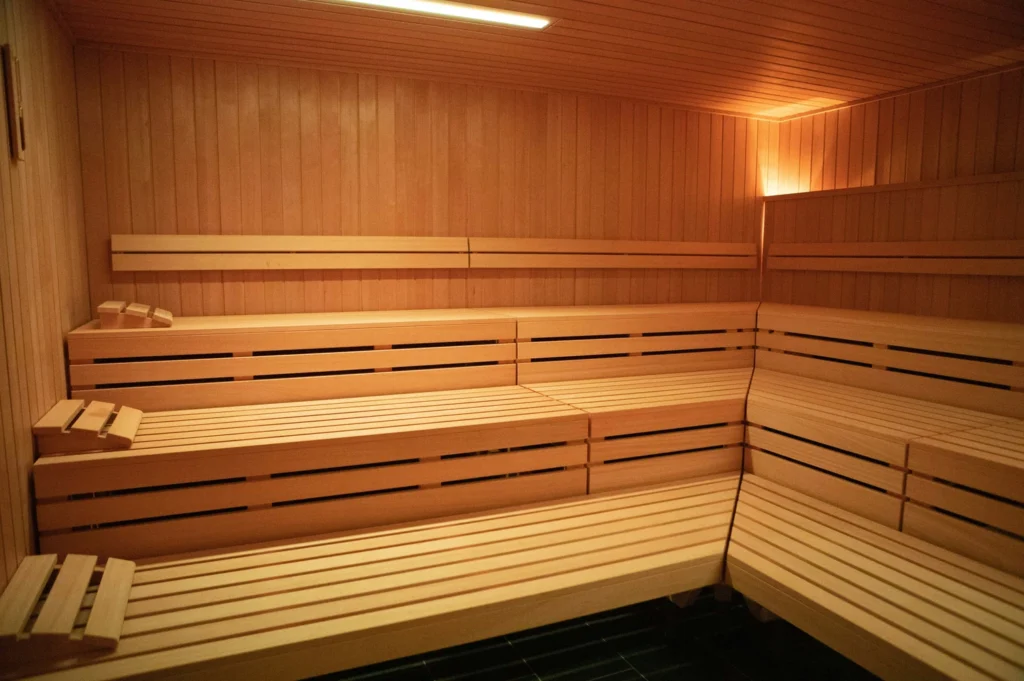
Next, plan the bench arrangement. Most traditional saunas use two bench levels. The upper bench is positioned about 36 to 42 inches above the floor, while the lower bench sits roughly 18 inches below it. This allows you to choose between hotter and cooler seating areas.
You’ll also need to leave enough clearance around the heater according to the manufacturer’s recommendations and plan where your door and ventilation openings will go before you begin framing.
Step 3: Build the frame
Once you’ve finalized the layout, it’s time to build the frame.
For most home saunas, 2×4 wall studs are more than enough, except for outdoor saunas or cooler climates where you might need 2×6 framing.
Space the wall studs 16 inches in the center. This is the standard spacing for most residential framing and it provides a sturdy structure, making insulation installation much easier.
As you build the frame, do leave openings for the sauna door, ventilation vents, and any windows you’ve included in your design.
And if you’re installing an electric sauna heater, this is the time to plan where the electrical wiring will enter the sauna. This will make installation much smoother once the walls are finished.
Step 4: Add insulation and vapor barrier
With the framing complete, the next step is insulating your sauna.
A good insulation is essential for the sauna to heat up faster, maintain a consistent temperature, and use less energy.
Most DIY home saunas use mineral wool or fiberglass batt insulation installed between the wall studs and ceiling joists.
In most cases, R-13 to R-15 insulation works well for walls built with 2×4 framing. But if you’ve used a 2×6 frame, I suggest you go for a higher R value.
Once the insulation is in place, install a foil-faced sauna vapor barrier over the insulated walls and ceiling. Here, the reflective side should face the inside of the sauna to help reflect heat back into the room.
Also, seal all seams with foil tape to create a continuous moisture barrier. This is important because it helps protect the framing from moisture while improving your sauna’s heating efficiency.
Step 5: Install wood paneling
Now it’s time to give your sauna its finished look.
Sauna walls and ceiling are usually covered with tongue-and-groove wood paneling that can withstand high temperatures without becoming uncomfortable to touch.
Western red cedar is one of the most popular choices for this because it is naturally resistant to moisture and has a pleasant aroma. However, woods like hemlock, aspen, and basswood are also excellent options and are common in home saunas.
You can start installing the ceiling panels first before moving down to the walls. This makes the installation process cleaner and helps create neat joints where the walls meet the ceiling.
Also, whenever possible, use stainless steel or corrosion-resistant fasteners and keep exposed metal to a minimum. You see, metal can become very hot inside a sauna, so concealed fasteners work well for both comfort and appearance.

Step 6: Build the benches
Most home saunas have two bench levels because they allow you to choose different temperatures. The upper bench is the hottest, while the lower bench stays a little cooler.
A common setup is to place the upper bench about 36 to 42 inches above the floor, with the lower bench approximately 18 inches below it.
Also, for your comfort, you can have 20 to 24 inches deep benches. This will give you enough room to sit comfortably or even lie down if space allows.
Pro tip: Choose smooth, knot-free wood for the benches as it stays cooler to the touch. Cedar, aspen, basswood, and hemlock are all popular choices for this.
Step 7: Install the heater and ventilation
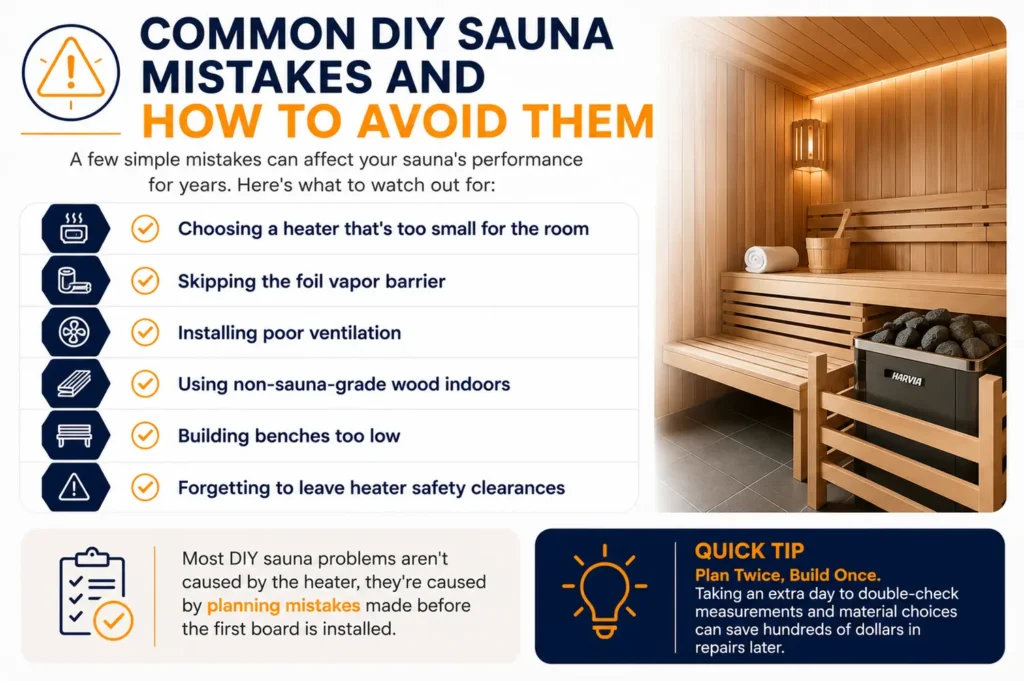
Choosing the right heater size is important. That’s because a heater that’s too small will struggle to heat the room, while an oversized heater can make the sauna unnecessarily expensive to operate.
As a general rule, you’ll need about 1 kilowatt of heater power for every 45 to 50 cubic feet of sauna space.
However, I suggest you check the heater manufacturer’s sizing guide before making your final decision.
Next, install the heater according to the manufacturer’s clearance requirements, and leave enough space between the heater and nearby walls or benches for safety.
Ventilation is just as important here. A sauna needs a fresh air intake vent near the heater and an exhaust vent on the opposite wall, positioned lower down. This allows fresh air to circulate through the room while helping maintain an even temperature.
Pro tip: An electric heater needs a dedicated 240-volt electrical circuit. Also, since electrical requirements vary depending on your heater model and local building codes, I suggest you get the heater installed and tested by a licensed electrician.
Step 8: Test your sauna
Before you use your sauna for the first time, give everything one final inspection.
Check that all benches are secure, the door opens and closes properly, and the ventilation openings are clear. Also, make sure the heater has been installed correctly.
Then, run the sauna for about 30 to 60 minutes before your first session.
This initial heating helps burn off manufacturing residues from the heater, allows the wood to adjust, and gives you a chance to confirm that everything is working as expected.
In short, here’s how to build a sauna at home:
| Step | What to Do |
| Build the frame | Use 2×4 or 2×6 framing, space studs 16 inches on center, and frame openings for the door and vents. |
| Add insulation and vapor barrier | Install mineral wool or fiberglass insulation, then cover it with a foil-faced vapor barrier. |
| Install wood paneling | Finish the walls and ceiling with heat-resistant tongue-and-groove wood such as cedar, hemlock, or aspen. |
| Build benches | Install two bench levels using smooth, heat-resistant wood with small gaps between the boards. |
| Install the heater and ventilation | Choose the right heater size, provide proper ventilation, and follow all installation clearances. |
| Test the sauna | Heat the sauna before first use and check that everything is working safely and efficiently. |
How much does it cost to build a sauna at home?
There’s not an exact cost range here. And the answer depends on a few factors like the size of your sauna, the type of heater you choose,and the quality of the materials, among others.
For instance, if you’re building a small home sauna,it can cost anywhere from $3,000 to $8,000. This includes the framing materials, insulation, interior wood paneling, benches, heater, lighting, ventilation, and other basic supplies.
But if you choose premium wood species, a larger layout, or a high-end heater, the cost can increase beyond $10,000.
Overall, here’s how much would it cost to build a sauna:
| Sauna Type | Estimated DIY Cost |
| Small indoor sauna (1-2 people) | $3,000-$5,000 |
| Medium home sauna (2-4 people) | $5,000-$8,000 |
| Large or premium custom sauna | $8,000-$12,000+ |
How to build a sauna on a budget?
There are a few good ways to reduce your costs.
For instance, you can keep the sauna compact, use a simple rectangular design, choose an electric heater instead of a wood-burning heater, and do most of the labor yourself.
The more customized your sauna is, the more expensive the project becomes. So, try to keep it simple to lower the costs.
How long does it take to build a sauna?
There’s no single answer because every project is different.
If you’ve already gathered your materials and have some DIY experience, a simple indoor sauna may take two to four days to complete.
Larger projects, custom designs, or outdoor saunas usually take one to three weeks, especially if you’re pouring a foundation, waiting for inspections, or coordinating electrical work.
Here’s a general timeline:
| Project Type | Typical Build Time |
| Small indoor DIY sauna | 2-4 days |
| Medium home sauna | 5-7 days |
| Large outdoor or custom sauna | 1-3 weeks |
Bonus: DIY sauna tips you shouldn’t ignore
1. Don’t skip insulation
Good insulation is one of the biggest reasons a sauna heats quickly and holds its temperature. And cutting corners here can cause longer heating times and higher energy bills.
2. Buy the right size heater
A heater that’s too small won’t heat the sauna efficiently, while one that’s too large can waste energy and make temperature control more difficult. That’s why you should always choose a heater that’s designed for your sauna’s total cubic footage.
3. Plan your ventilation carefully
A lot of DIYers focus only on the heater. But proper ventilation in the sauna is just as important.
Fresh airflow helps maintain a comfortable environment, improves heating performance, and prevents stale air from building up inside the sauna.
4. Use the right wood
Not every type of wood belongs inside a sauna. Only woods like cedar, hemlock, aspen, or basswood are apt for sauna because they’re designed to perform well in high heat and humidity.
Also, they stay more comfortable to sit on than many standard construction woods.
5. Take your time
The biggest pro tip of all is not to rush.
A carefully planned sauna will almost always perform better than one that’s built as quickly as possible. So, measure carefully, double-check each step, and don’t hesitate to ask for professional help if you need it.
To sum up
I am sure that you now have a good idea about how to build a sauna at home by yourself.
You see, building a home sauna that takes planning, patience, and attention to detail. But if you prepare properly and follow each step carefully, it’s absolutely possible to create a comfortable private sauna.
Got more questions or looking for high-quality sauna accessories?
You can get in touch with us!
At Steam Shower and Sauna, we bring premium sauna accessories and equipment from renowned brands like Amerec, Finnmark, Delta, and more. And we’re here to help you find the right solution for your home.
Frequently asked questions
Is it hard to build a sauna?
Not necessarily.
If you have some basic DIY experience, building a sauna is a manageable project.
However, it does require careful planning, quality materials, and attention to details like insulation, ventilation, and heater placement.
Can I build a sauna in my house?
Yes.
A lot of homeowners build indoor saunas in basements, garages, spare bathrooms, or unused rooms.
As long as the space has proper ventilation, electrical access, and enough room for safe heater installation, an indoor sauna can be a great addition to your home.
What is the best wood for building a sauna?
Cedar is one of the most popular choices because it’s naturally resistant to moisture and performs well in high temperatures.
Hemlock, aspen, and basswood are also excellent options and are commonly used in modern home saunas.
Can I build an outdoor sauna?
Absolutely.
If you’re wondering how to build a sauna outdoor, the process is very similar to building an indoor sauna.
The only difference is that you’ll need a solid foundation and weather-resistant exterior materials to protect the structure from the elements.
Do I need a permit to build a home sauna?
It depends on where you live.
Some places do require permits for electrical work, new structures, or outdoor buildings, while others have different requirements.
So, before you begin your project, it’s always a good idea to check your local building codes and permit regulations.

Jordan is a content writer covering steam showers, saunas, home wellness, and modern bathroom design. With a focus on practical, research-based information, Jordan helps readers make informed decisions about creating relaxing, spa-inspired spaces at home.